Categorieën
Guide Product Feed Manager For WooCommerce WooCommerce

Generate Kelkoo Product Feed : Increase WooCommerce Sales

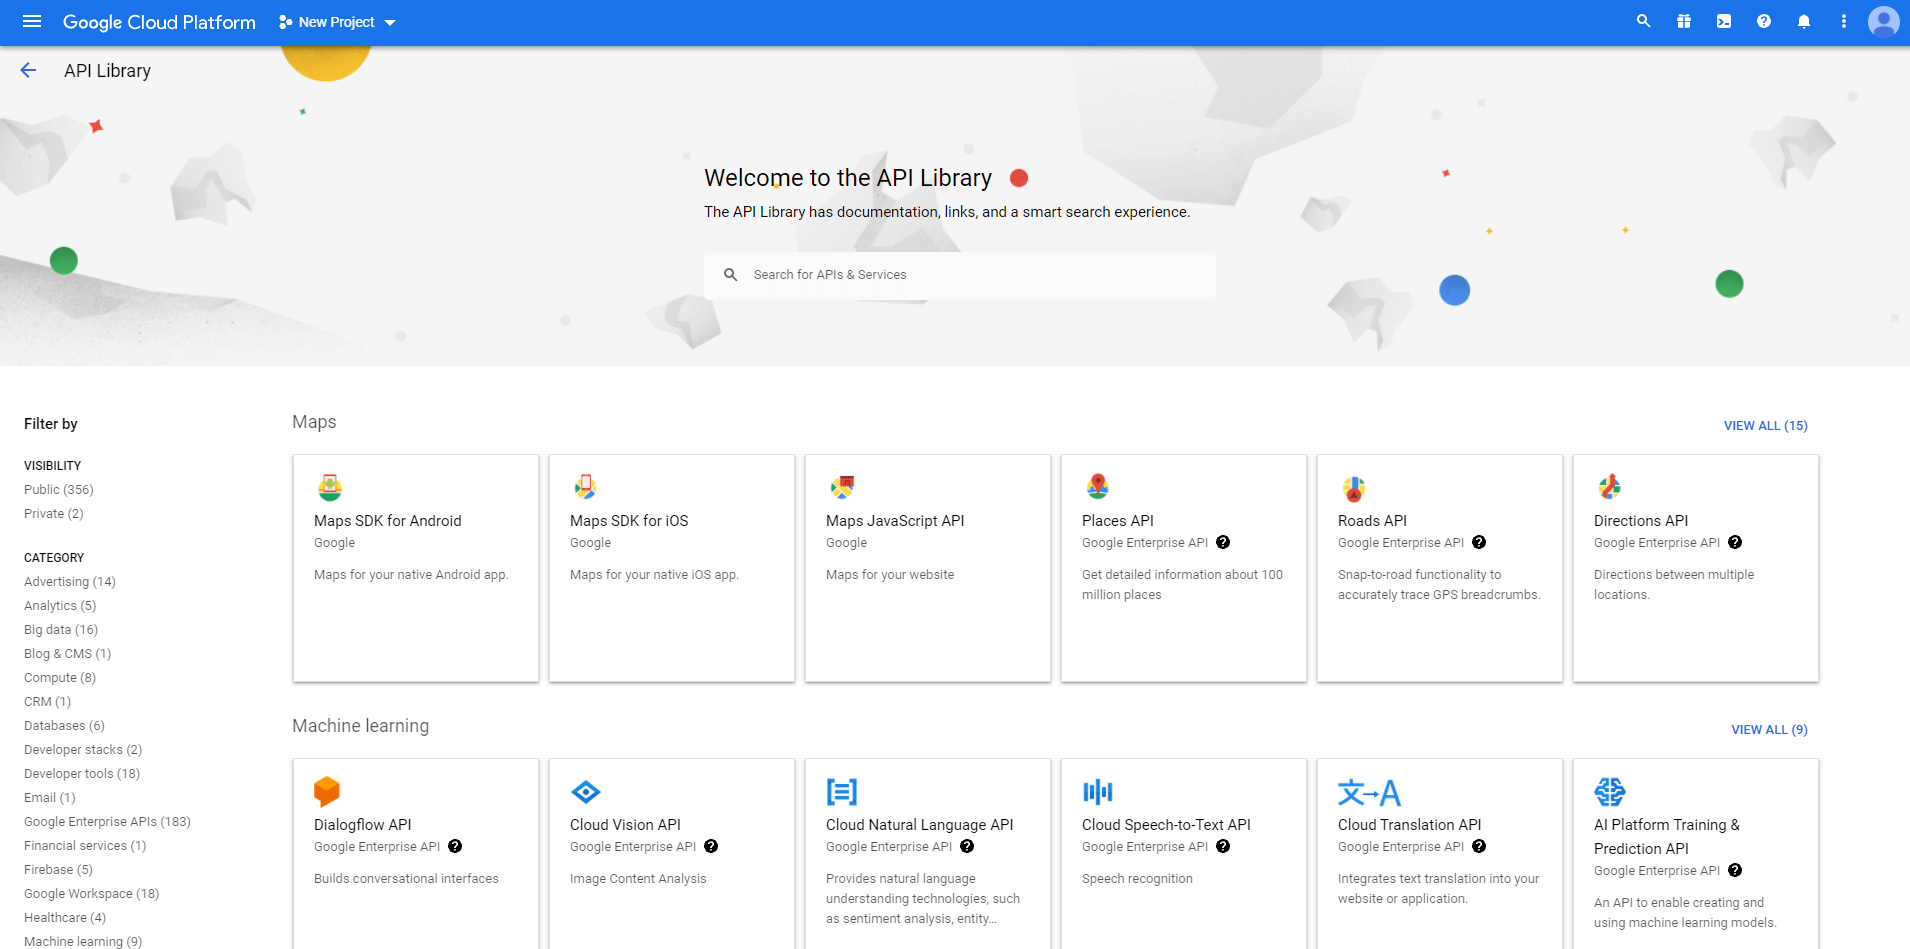
Most WooCommerce seller promote their products through large marketplaces such as Google Shopping, Facebook Dynamic Ads, Amazon, and eBay.

But There are certain sites that can get you more local prospects than the popular market places mentioned above.

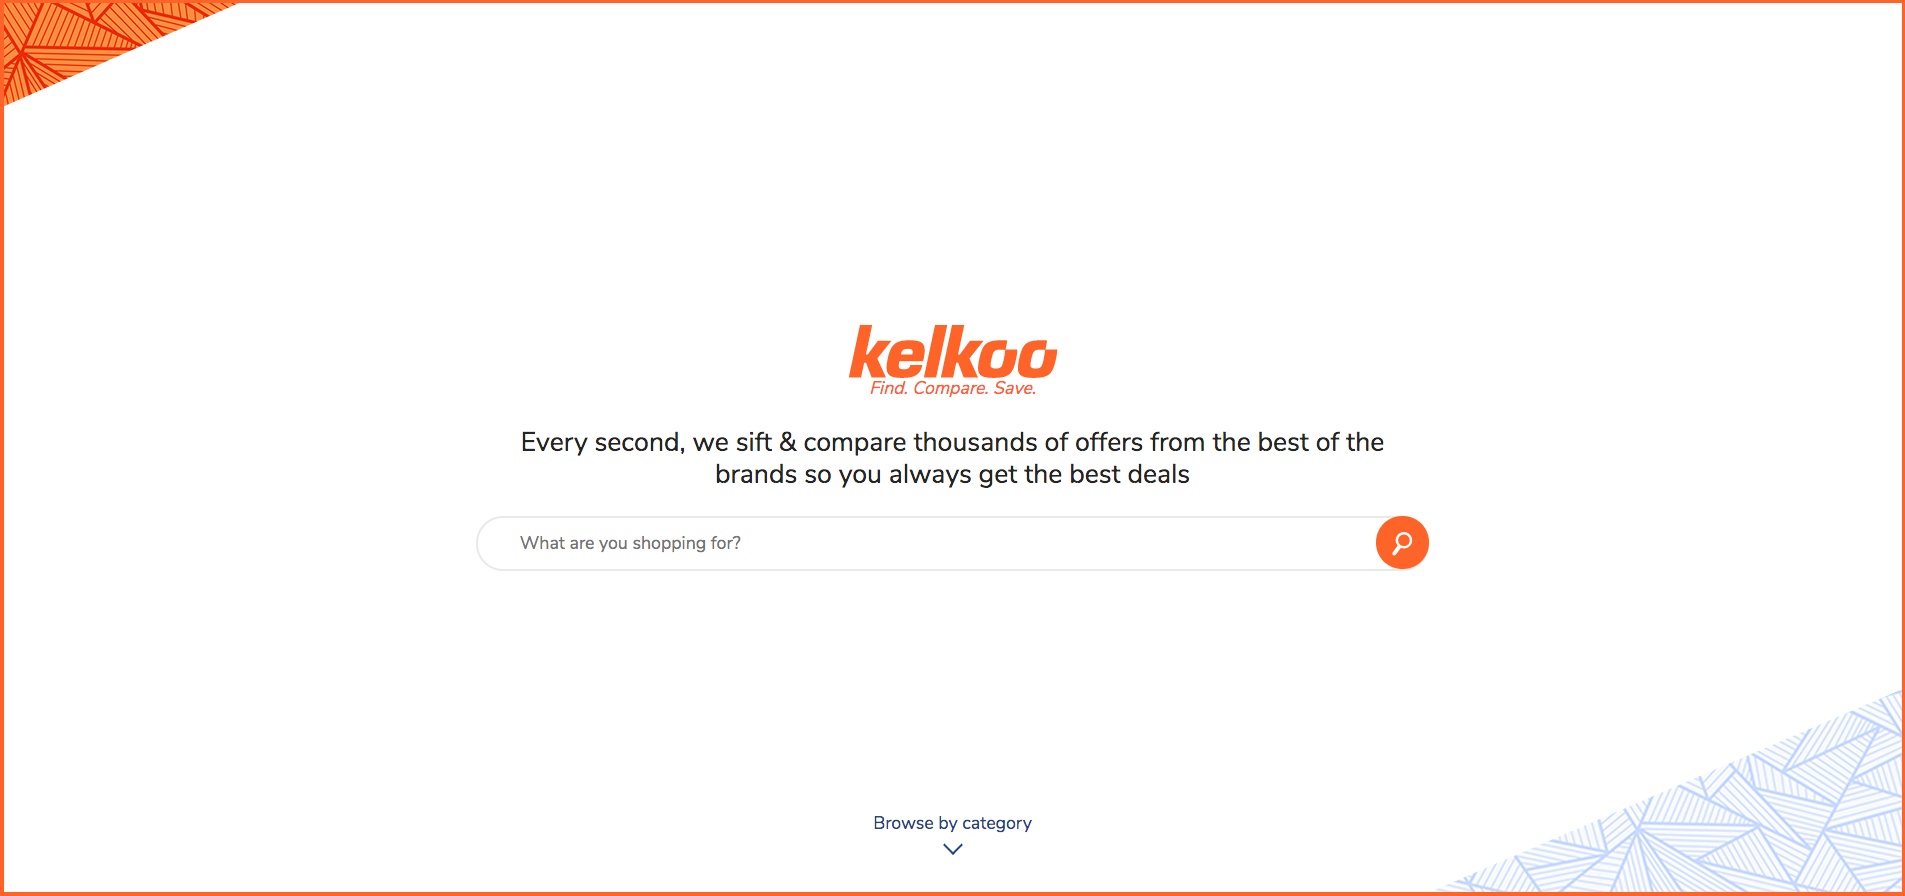
One such site is Kelkoo.

This article will explain the concept of a product feed, detail the mandatory and optional data fields for Kelkoo product feeds.

And also guide you through creating and maintaining a Kelkoo product feed using a best product feed generator plugin.

Why Promote on Kelkoo?

Kelkoo is one of the most successful marketplaces, that operates in over 20 countries.

It is rather a price comparison site that displays the best and affordable deals on products; prospects can compare multiple products to choose the ones that suit them.

Here’s a report from Crunchbase on Kelkoo

Kelkoo

Kelkoo operates through the Kelkoo Group Network which allows you to promote the same products in more sites such as LeGuide, Pricesavvy, Prisvis and many more, from one place.

A case study from ThinkWithGoogle suggests that,

“Due to its advertising in Shopping Ads through the Google Comparison Shopping program, most store owners start to see extra traffic very soon.”

A top 30 retailer, in the baby and nursery category, saw conversion rate jump by 42% and cost per sale decrease by 9% in a very little time, thanks to Google Comparison Shopping program through Kelkoo.

All these details already show how dependable this marketplace is. It also has a simple, effective mobile app. Here’s a preview of the app.

Countries Kelkoo Operates On

Currently, the site operates in around 26 different countries, mostly with respective suffixed websites.

How to promote on Kelkoo?

Kelkoo

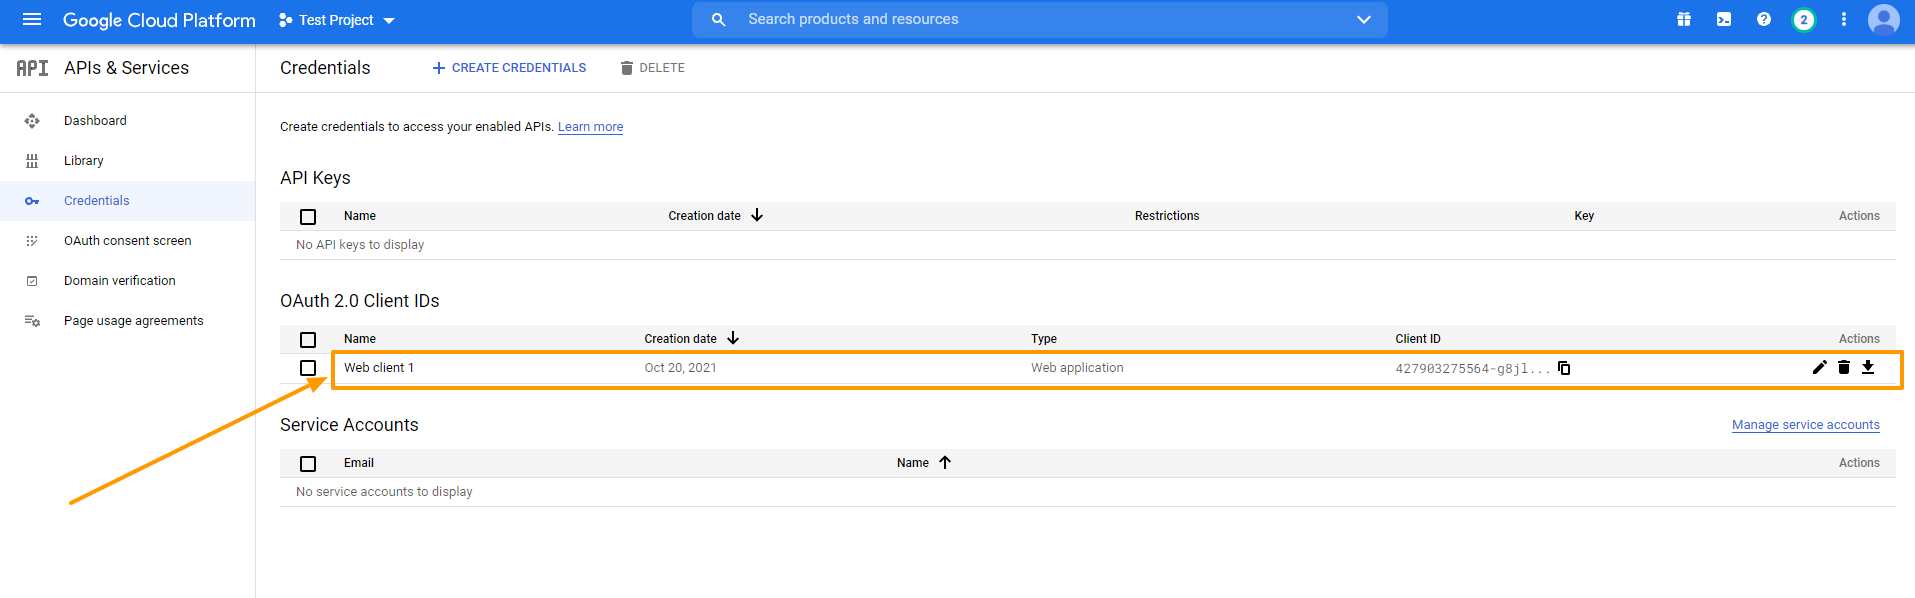
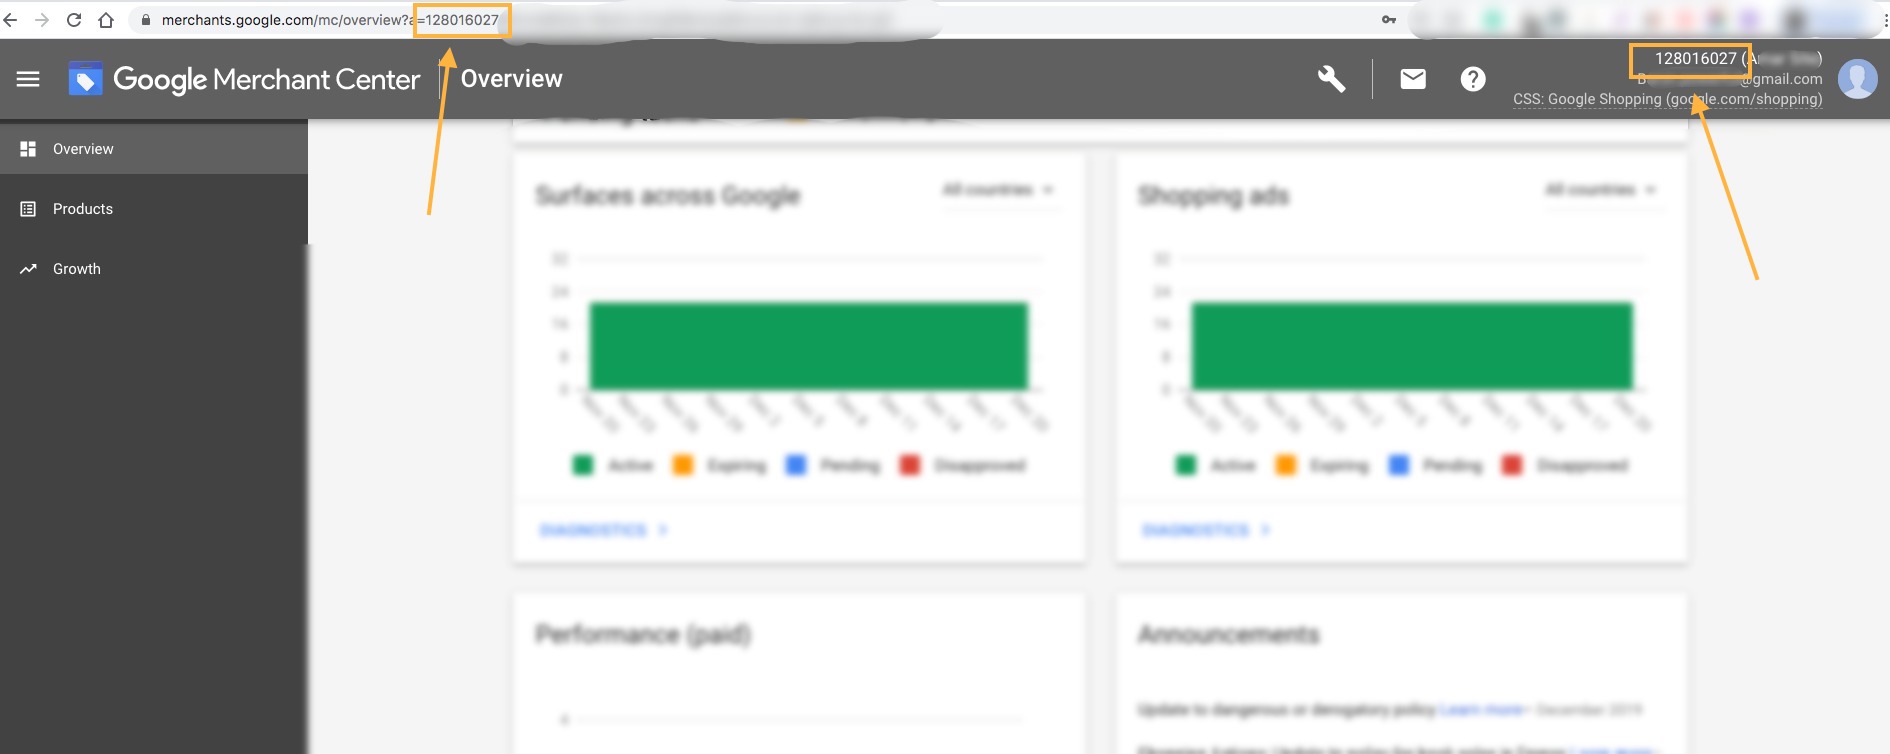
You need to Register on Kelkoo Group Network to be able to submit your products.

Here’s the link to Register: https://merchant.kelkoogroup.com/app/login

Once you are registered, you will be able to upload products.

These products will be automatically listed on your country-specific Kelkoo site.

For example, if you are from the USA, then your products will be listed on kelkoo.us.com.

They will handle the marketing aspects through their Shopping Ads, and Publishers’ channels. You simply need to make sure that the data you provided, when uploading products, are accurate.

Now let us look at the data you need to provide your products.

Start Your Kelkoo Journey with product data specification

When you upload your products, Kelkoo will look for some specific data.

Let us look into what data you must include on your feed and I will give you examples for each data so that you know the most optimized way to generate the Kelkoo product feed.

A proper Kelkoo product feed (in XML format) of a single product usually looks like the following:

<?xml version="1.0" encoding="UTF-8" ?>
    <products>
        <product>
            Product data attributes
        </product>
    </products>
</rss>

**Here the product tag ( <product> </product> ) encapsulates the data of a product.

For multiple products, you simply add more product tags and the product data within, and the rest remains the same.

De productgegevens bevatten nu veel informatie die u moet toewijzen aan hun respectievelijke attribuuttags binnen de artikeltag.

The following are the necessary product attributes that you need to submit on Kelkoo for all products.

Noodzakelijke producteigenschappen

Let’s look into the details to understand how you should include proper data, the format on the feed file, and examples of data.

Titel van het product

Attribuut titel
Voorbeeld Pullover Hoodie
Voergegevens <title>
    <![CDATA[Pullover Hoodie]]>
</title>

This is the name of the product to be displayed. It is limited to 80 characters.

Product URL

Attribuut product-url
Voorbeeld https://www.yourwebsite.com/pullover-hoodie/
Voergegevens <product-url>
    <![CDATA[https://www.yourwebsite.com/pullover-hoodie/]]>
</product-url>

This is the URL of a particular product page. Make sure the URL starts with either “http://” or “https://”. Any other format will be rejected.

Price Of Product

Attribuut prijs
Voorbeeld https://www.yourwebsite.com/products/
Voergegevens <price>99.00</price>

The price of the product should be submitted without any currency symbols or suffixes. Also, the price should not include any voucher discount.

Currency

Attribuut currency
Voorbeeld EUR
Voergegevens <currency>
    <![CDATA[EUR]]>
</currency>

The currency should be submitted as a suffix, not as a symbol.

However, this is an optional attribute. Even if you don’t submit this attribute, Kelkoo will assign a currency based on the operating country you specify.

Product Brand

Attribuut merk
Voorbeeld Brand1
Voergegevens <brand>
    <![CDATA[Brand1]]>
</brand>

Here, you can either provide the brand of the product or use your store name as a manufacturer.

Productbeschrijving

Attribuut beschrijving
Voorbeeld This Pullover hoodies has a stylish look.
Voergegevens <description>
    <![CDATA[This Pullover hoodies has a stylish look.]]>
</description>

Here, describe the product in your own way within 300 characters.

Afbeelding URL

Attribuut image-url
Voorbeeld https://www.yourwebsite.com/phoodie1.png
Voergegevens <image-url>
    <![CDATA[https://www.yourwebsite.com/phoodie1.png]]>
</image-url>

Here, provide the link to your Product’s image that doesn’t have any watermark or logo of trade.

It is best to use images on a white background in jpg, png or gif.

The recommended minimum size of the image is 300 × 300. And an image should not exceed 6 600 000 pixels. For example, 1024 × 768 = 786 432 pixel is accepted, but 1518 × 5908 = 8 968 344 pixel is not accepted.

Product Identifier (EAN)

Attribuut ean
Voorbeeld 4856349257328
Voergegevens <ean>4856349257328</ean>

It is important that you submit the product EAN (for European countries), which is a unique product identification set when products are created. For countries outside of Europe, you may provide the respective identifiers.

Hier zijn alle geaccepteerde vormen van productidentificatie:

  • UPC-E (6 digits)
  • EAN-8/UCC-8/GTIN-8 (8 digits)
  • UPC-A/GTIN-12 (12 digits)
  • EAN-13/UCC-13/GTIN-13 (13 digits)
  • ISBN-13 (13 digits for books)
  • EAN-14/UCC-14/GTIN-14 (14 digits)

In case you do not have this data, then you have to contact your Kelkoo account manager and follow the instructions provided.

Availability

Attribuut beschikbaarheid
Voorbeeld 1
Voergegevens <availability>1</availability>

Kelkoo has numeric values to represent the availability of a product.

  • 1 = In Stock
  • 4 = Preorder
  • 5 = Available on Order

So based on the availability, submit the value accordingly.

Delivery Cost

Attribuut delivery-cost
Voorbeeld 50.00
Voergegevens <delivery-cost>50.00</delivery-cost>

Kelkoo expects you to have a fixed delivery cost for home deliveries in a country. So you should specify the exact amount you will charge for home deliveries.

Delivery Time

Attribuut delivery-time
Voorbeeld 1-5 days
Voergegevens <delivery-time>
    <![CDATA[1 – 5 days]]>
</delivery-time>

You may specify an estimated time to denote how long you might take to deliver a product.

Here are the accepted formats:

  • x – y days — Example: 1 – 5 days
  • x days — Example: 5 days
  • x – y hours — Example: 24 – 48 hours
  • y hours — Example: 24 hours
  • x – y weeks — Example: 2 – 3 weeks
  • y weeks — Example: 3 weeks

MPN (Fabrieksonderdeelnummer)

Attribuut mpn
Voorbeeld PH0011
Voergegevens <mpn>
    <![CDATA[PH0011]]>
</mpn>

Here you need to provide the product MPN code. In case you do not have an MPN, you may use the SKU as the value.

Merchant Category

Attribuut merchant-category
Voorbeeld Clothing – Men – Hoodies
Voergegevens <merchant-category>
    <![CDATA[Clothing - Men - Hoodies]]>
</merchant-category>

It is highly recommended to provide the category this product falls under. If there are sub-categories, then you need to use ‘-‘ as separators.

Try to specify sub-categories for better promotion results rather than putting a product in a generic category such as Clothing.

Productvoorwaarde

Attribuut voorwaarde
Voorbeeld 0
Voergegevens <condition>0</condition>

Use this attribute to signify if your product is brand new or refurbished or in any other specific condition.

Kelkoo has numeric values to represent the condition of a product. Here are the accepted conditions.

  • 0 = new (default value)
  • 1 = used
  • 2 = refurbished
  • 3 = open box
  • 4 = returned
  • 5 = damaged
  • 6 = overstock
  • 7 = liquidation
  • 8 = unknown
  • 9 = download (pure-bits products)
  • 10 = professional offers

So based on the condition, submit the value accordingly.

Product Color

Attribuut kleur
Voorbeeld Rood
Voergegevens <color>
    <![CDATA[Red]]>
</color>

Specify the color of the product for better traction, though it is not mandatory.

If the product is available in several colors, you can specify multiple colors, or use the delimiter “;” to separate each value.

Environmental Tax

Attribuut ecotax
Voorbeeld 10.00
Voergegevens <ecotax>10.00</ecotax>

You can submit the tax amount on the product due to environmental tax.

Although this field is not mandatory, it is highly recommended.

If the tax amount is added to the price or if the tax doesn’t apply, then you may assign the value as “0”.

These are all the mandatory attributes that you must submit for products.

However, there are more recommended attributes that you may include based on the product type. Let us look at some of them:

Product-based Recommended Attributes

Here, let me discuss a few attributes that you may include based on your niches.

Product Attributes For Fashion and accessories

For products under this category, it is recommended that you include the following attributes for better results:

Fashion Type

Attribuut fashion-type
Voorbeeld Shoes
Voergegevens <fashion-type>
    <![CDATA[Shoes]]>
</fashion-type>

Specifying the fashion type will make it easier to promote to the right audience.

Geslacht

Attribuut fashion-gender
Voorbeeld Man
Voergegevens <fashion-gender>
    <![CDATA[Man]]>
</fashion-gender>

It is seen that most people search for clothing or fashion products online, usually searching with their gender in the search term. For example, a woman looking to buy t-shirts may input the phrase “t-shirt for women”.

So it is better to submit a designated gender for Kelkoo to present the right product.

You may use the following terms to assign gender:

  • Man
  • Woman
  • Children
  • Male
  • Female
  • Unisex

Product Size

Attribuut fashion-size
Voorbeeld 36
Voergegevens <fashion-size>
    <![CDATA[36]]>
</fashion-size>

When selling clothes, size really matters. You may assign the size in EU format such as 34 or 35 or so on, or you may assign international size formats such as M, L or XL, etc.

**You may include a size card among the product images to explain the size of the product. To add multiple images, you may include the attributes image-URL-2, image-URL-3, and so on.

Product Attributes For Software and video games

Software and video games are pretty straightforward forward but it is wise to add one extra attribute for better search volume relevance.

Compatible Platform
Attribuut software-platform
Voorbeeld PlayStation 4
Voergegevens <software-platform>
    <![CDATA[PlayStation 4]]>
</software-platform>

Here you can mention the platform or console this product is compatible with or usable on.

People who use consoles usually search for a particular software or game along with the console name in the search term. For example, “Fifa 2019 Xbox”.

“Real estate” Product Attributes

Kelkoo also allows you to submit properties for promotion. More details you provide, the better the chance to attract buyers.

So we recommended that you also include the following attributes for a higher chance of success.

  • Property Type
  • Garage/Parking Space
  • City (Location)
  • Zip Code
  • Number Of Rooms
  • Surface Area

Property Type

Attribuut property-type
Voorbeeld Renting
Voergegevens <property-type>
    <![CDATA[Renting]]>
</property-type>

Here you will mention the purpose of this property listing, i.e. if the property is for rent, up for buying, etc.

The following are the accepted values:

  • Buy
  • Renting
  • Flatsharing
  • Life Annuity
  • Rental investment

Garage/Parking Space

Attribuut propery-garage-parking
Voorbeeld With garage and parking
Voergegevens <propery-garage-parking>
    <![CDATA[With garage and parking]]>
</propery-garage-parking>

A garage or parking space is always a plus point for a property. Hence, this attribute can help to inform prospects if a garage or parking space is available for a property.

Here are the accepted values:

  • Garage
  • With garage and parking
  • With parking
  • Without a garage and parking

City (Location)

Attribuut property-city
Voorbeeld Manchester
Voergegevens <property-city>
    <![CDATA[Manchester]]>
</property-city>

The geolocation function of search engines will automatically display the properties to people in the area you operate in. You may mention the city where the property is located to narrow down potential prospects.

Zip Code

Attribuut property-zip-code
Voorbeeld M1 1WR
Voergegevens <property-zip-code>
    <![CDATA[M1 1WR]]>
</property-zip-code>

Mentioning the zip code will allow a prospect to research the neighbourhood.

Number Of Rooms

Attribuut property-number-rooms
Voorbeeld 3
Voergegevens <property-number-rooms>3</property-number-rooms>

Here, mention the number of bedrooms available in the property. If you are renting, then mention the number of bedrooms up for rent.

Surface Area

Attribuut property-surface
Voorbeeld 200 ⨉ 300
Voergegevens <property-surface>200 ⨉ 300></property-surface>

Mention the surface area of the property.

Product Attributes For Wine and Champagne

When selling liquor, we suggest you add two more attributes:

Country Of Production
Attribuut wine-country
Voorbeeld Ireland
Voergegevens <wine-country>
    <![CDATA[Ireland]]>
</wine-country>

Let prospects know where this wine or champagne was created. Most people prefer foreign brands when it comes to drinking.

Year

Attribuut wine-year
Voorbeeld 1980
Voergegevens <wine-year>1980;</wine-year>

The older the wine the better it tastes. And hence, the date of the liquor matters. You may provide the year through this attribute.

Capacity

Attribuut wine-capacity
Voorbeeld 700ml
Voergegevens <wine-capacity>
    <![CDATA[700ml]]>
</wine-capacity>

Provide the capacity of the liquor you are selling.

**There are more available attributes for different types of products. Here’s a complete product feed list for Kelkoo.

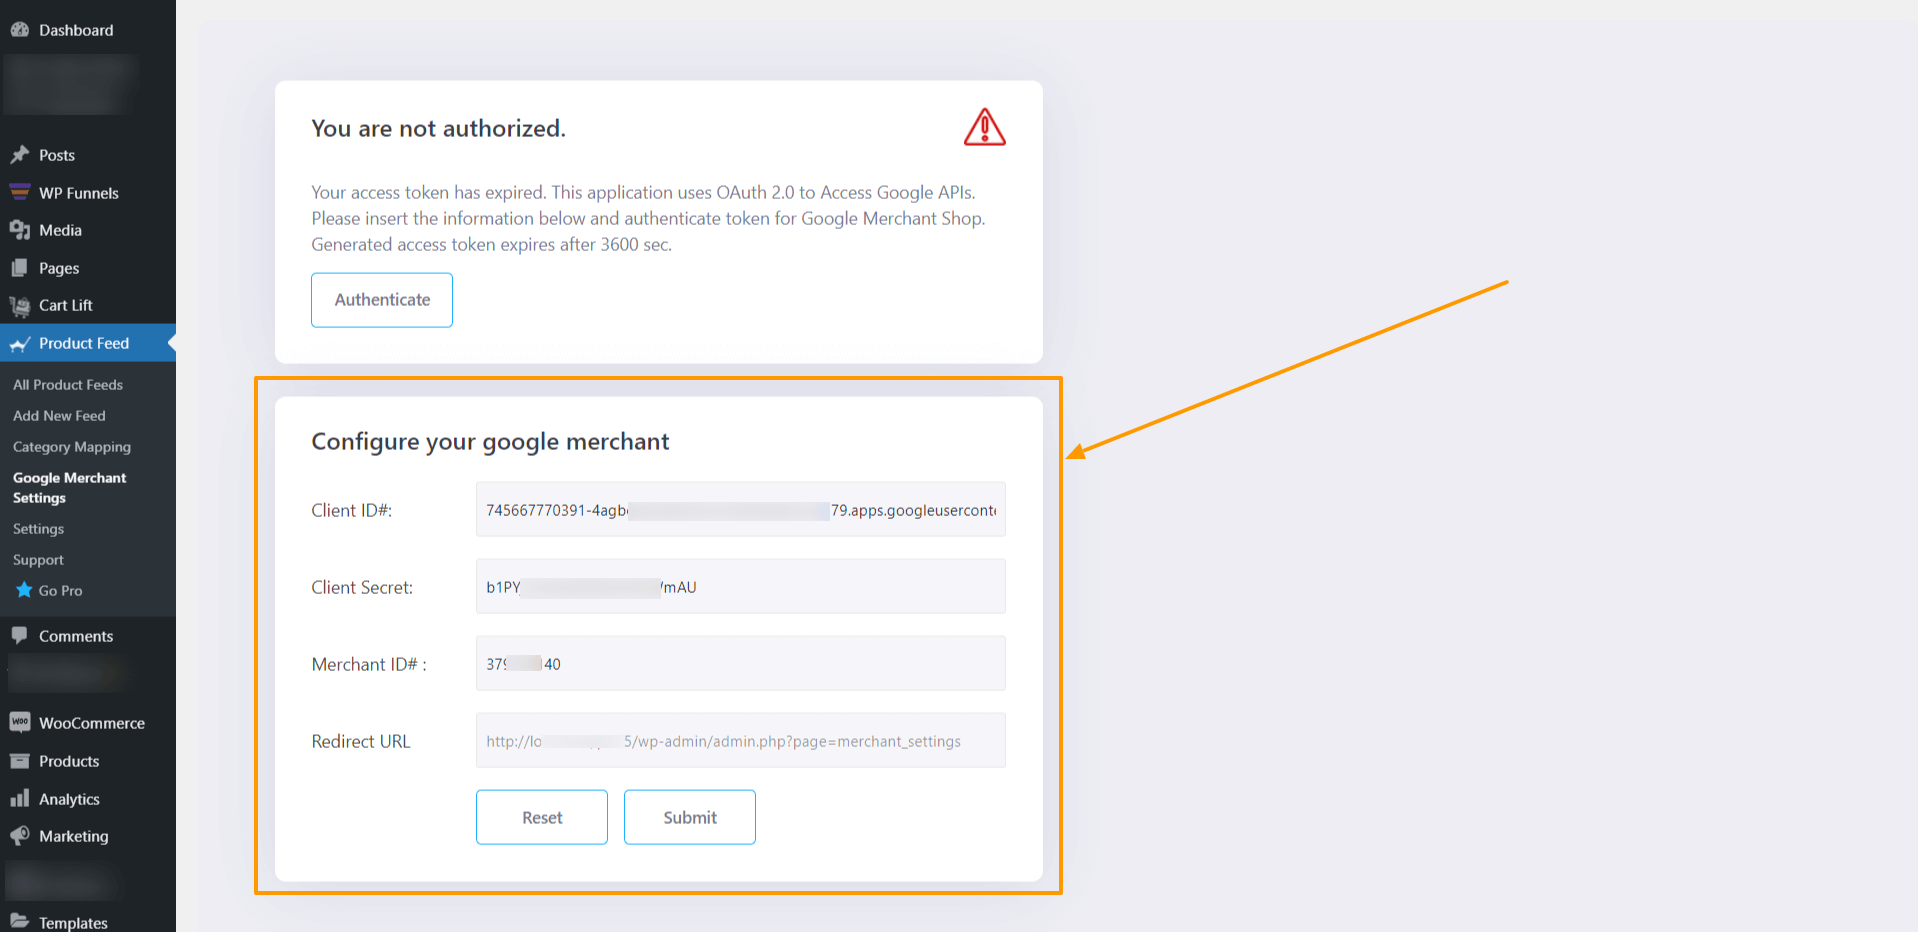
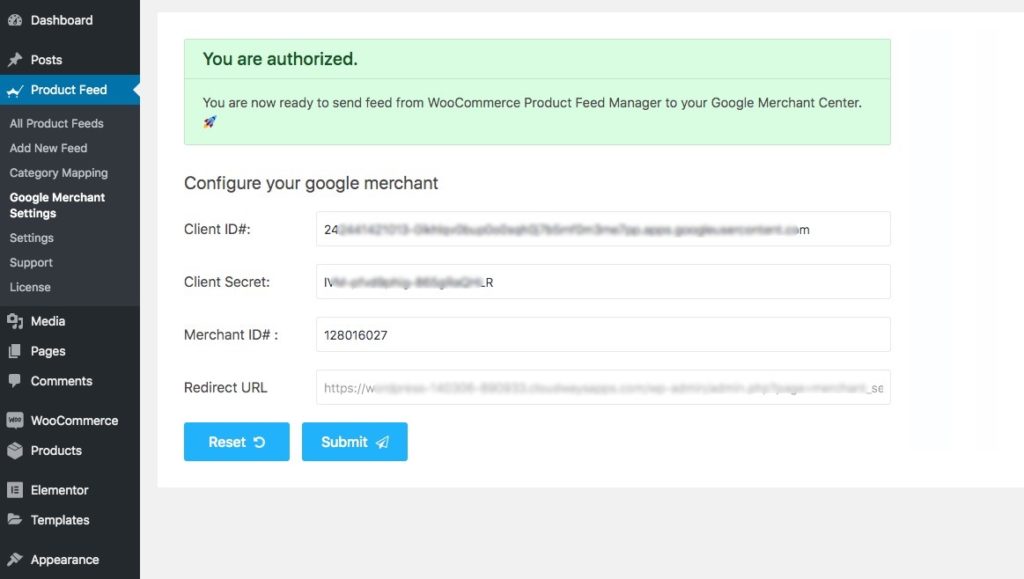
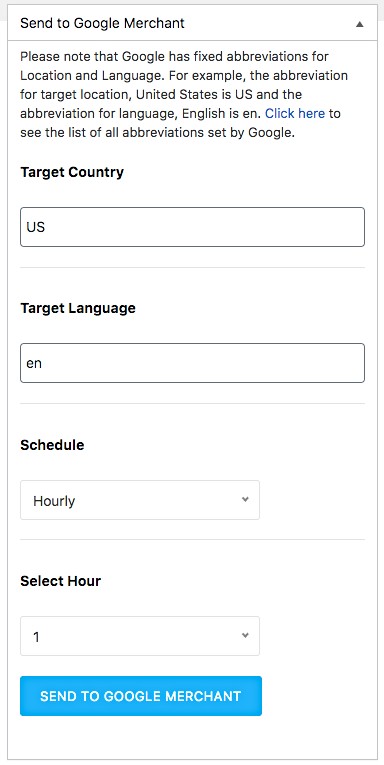
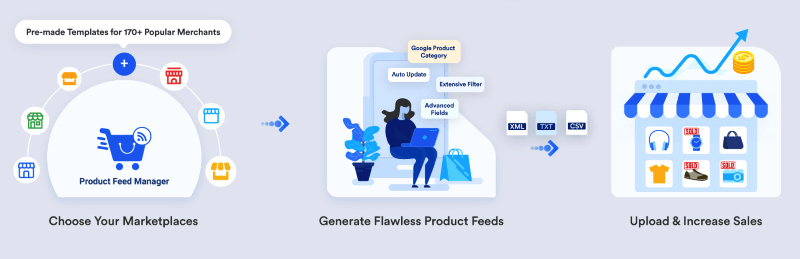
If you run a WooCommerce store, then it’s really easy to generate your desired product feed. Simply use the plugin Product Feed Manager For WooCommerce and generate the product feed in just a few clicks.

Here’s a video to show you how it works.

Once you have the product feed ready, now it’s time to upload it to the marketplace.

Uploading products

To upload products, you need to first rename the product feed as:

kelkoo_<countryprefix>.xml or kelkoo_<countryprefix>.txt

Next, you can initiate file transfer in 3 ways:

  • HTTP transfer mode
  • FTP transfer mode
  • FTP upload using Internet Explorer

Or you may upload through Kelkoo directly.

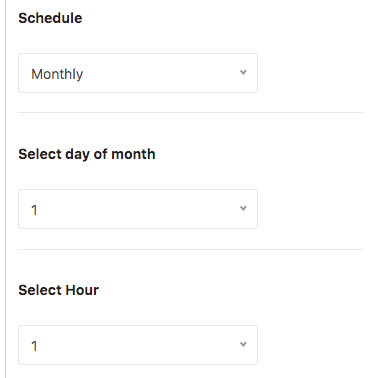
Once the file is uploaded, you have to wait until the data is updated by Kelkoo.

There are specific times when the data is updated. Set the timings as per the country when the data is updated.

And that’s it. You are now ready to get more sales through Kelkoo.

Final Thought

It is always wise to use more options when promoting your online products if you want maximum sales.

And Kelkoo is one of the most reliable online marketplaces out there to increase online sales.

Remember, it is important that you do not sound overly promotional with any of your products. Rather be honest and detailed and it will automatically attract the right audience.

Categorieën
WooCommerce Guide Product Feed Manager For WooCommerce

How To Auto-Sync WooCommerce Products To Google Merchant Shop in 2024

Het is natuurlijk voor de meeste WooCommerce Winkeliers om te proberen hun verkoop te verhogen door het promoten van verschillende winkels. Bijna alle WooCommerce winkeliers promoten hun WooCommerce Producten naar Google Merchant Shop omdat het de grootste marktplaats is om meer potentiële klanten te krijgen.

Product Feed Manager For WooCommerce makes it extra easy for you to promote your valuable products in different merchant shops. As a reliable WordPress agency, we care about your success. With the regular iteration of our plugin, we are spreading the way for your continuous improvements and benefits.

Today, we are happy to inform you about the new update of our plugin Product Feed Manager For WooCommerce. We recently added a new feature that will give you an extra hand in promoting your products on Google Merchant Shop.

With this latest version, you can simply work in harmony with the best merchant shop out there and potentially increase your revenue with product feed management strategies.

Laten we ons ingraven!

Hier is de complete video tutorial. Of u kunt de schriftelijke handleiding hieronder lezen, zodat u uw WooCommerce producten gemakkelijk kunt synchroniseren met Google.

Auto-sync WooCommerce producten naar Google

You can auto-sync your WooCommerce Products to Google Merchant Shop using our plugin.

This means that with the latest Product Feed Manager For WooCommerce, you can now directly send your WooCommerce products to Google Merchant Shop; you no longer need to download and upload feed on your Google Merchant Center manually.

This feature carries out the task by allowing your Google Merchant Center to fetch the data of your updated Google product feed according to the schedule you decide.

You need to simply set up your Product Feed Manager For WooCommerce to integrate with your Google Merchant Shop.

Once you have set the required credentials to auto-sync the plugin with your Google merchant account, you can then choose your desired schedule, when you want your updated product feed to be collected by your Google Merchant Shop. It’s as simple as that.

Dit zal je zoveel tijd besparen. U kunt zich richten op het verbeteren van uw WooCommerce Shop terwijl uw bijgewerkte productfeed automatisch naar uw Google Merchant Shop wordt gestuurd.

WooCommerce producten naar Google Merchant Shop

Hier is hoe het werkt

Synchronizing your WooCommerce Products to Google Merchant Shop is an easy procedure. Just follow these steps and you are good to know how to generate A WooCommerce Google feed with auto sync featurs.

U heeft 3 specifieke informatie nodig om de synchronisatie in te stellen:

  • Klant ID
  • Klantengeheim
  • Google Merchant ID

U kunt uw Client ID en Client Secret ophalen bij uw Google Developers Console en u kunt uw Google Merchant ID ophalen bij uw Google Merchant Shop.

Als u niet weet hoe u ze kunt vinden, lees dan verder, we hebben instructies gegeven over hoe u ze kunt ophalen.

Laten we nu beginnen met de stappen.

Stappen naar Auto-Sync WooCommerce Producten naar Google Merchant Shop

U moet een paar specifieke stappen volgen om het op te zetten.

Dus laten we elke stap een voor een doornemen.

Stap 1 - Verzamel klant-ID en klantgeheim

i. Creëer een project

Ga eerst naar Google Developers Console en log in met uw Google-account. U ziet dan zo'n dashboard:

Google Console API Dashboard.png

Als u al een project hebt gemaakt voor uw producten, kunt u hetzelfde gebruiken, of u kunt een nieuw project maken als u dat nog niet hebt.

To do this, you need to click on New Project. Here you will be given a list of projects that you have created so far.

Selecteer een nieuw project

Click on New Project to set up a new project.

Create New Project

Now provide the required information.

New Project Required Information

Here, you can change the Project Name/ Project ID if you want.

Once the project is ready, you will get a notification on the top right corner. You can select your new project from the New Project option or from the Notification dropdown.

New Project Added Notification

ii. Activeer de Content API voor winkelen

Content API for Shopping is an interface that allows you to interact with the merchant center platform directly. This helps you to increase the efficiency of your shop with proper data management in a more organized way.

To activate it for your current project, Go to the Dashboard. Select ENABLE APIS AND SERVICES.

Enable Content API Option

It will take you to the API Library Dashboard.

API Library Dashboard

Search for Content API for Google Shopping and select the Content API for Shopping option

Search Content API for Shopping

Click on the Enable button to enable the Content API for the Shopping option

Enable Content API for Shopping

However, you don’t need to enable this Content API for Shopping if you see that it is enabled in the first place.

iii. Geloofsbrieven aanmaken

Dit is het belangrijkste onderdeel waar u uw referenties moet instellen om de API goed te laten werken. Laten we beginnen.

a. Toestemmingsscherm van OAuth

Click on the OAuth Consent Screen option on the left, and It will take you to the OAuth Consent Screen.

Select External as the User Type and click on the Create button.

OAuth Consent Screen - User Type

Now fill up the forms and click on the SAVE AND CONTINUE button.

OAuth Consent Screen - App Registration
The terms you will face here are

OAuth Toestemmingsscherm

- Toepassing Naam

De naam van de App die u vraagt om toestemming. U moet dit aangeven, anders kunt u niet bij uw stap komen.

- Toepassingslogo

De identieke afbeelding van uw app om specifiek te zijn, een logo van uw app. Klanten zullen uw app herkennen aan de hand van dit beeld.

- Ondersteunende e-mail

Deze e-mail-ID zal uw klanten helpen om u te bereiken als ze gebruikersondersteuning nodig hebben. De google-id die u gebruikt heeft om in te loggen op uw google-console wordt hier standaard geplaatst.

- Geautoriseerd Domein

U moet hier de applicatie-URL invoeren. Anders zal Google uw domein niet als geautoriseerd markeren. Zoals u kunt zien in de afbeelding hieronder, heb ik mijn domein, cloudwaysapps.com, opgegeven.

Uw domein zal er waarschijnlijk al standaard zijn, maar als u ziet dat er geen domein is, moet u hier het geautoriseerde domein van uw winkel opgeven.

- Voorpagina/Privacy-beleid/ TOS-link

Dit zijn de respectievelijke homepage en het privacybeleid/voorwaarden en servicelinks van uw toepassing en deze zullen op uw toestemmingsformulier worden getoond. Maar het moet worden gehost op uw geautoriseerde domein - anders hoeft u het vakje niet in te vullen.

Provide the Application Name and Authorized Domain(s) to start the process. You can add the rest of the options later.


Click on SAVE AND CONTINUE.

Scopes

OAuth Consent Screen - Scopes
- Toepassingsgebieden voor Google-API's

You are provided with a list of scopes here. You can also add your own. The level of scopes you choose here (such as email/profile/OpenID/custom), your application can access only that part of your user’s data.

Click on SAVE AND CONTINUE.

Test Users

OAuth Consent Screen - Test Users
Assign Test Users

While the publishing status is set to “Testing”, only test users are able to access the app. Allowed user cap prior to app verification is 100, and is counted over the entire lifetime of the app. 

You can provide access to the test users from here.

Click on SAVE AND CONTINUE.

It will show you a summary and your registration is now complete.

OAuth Consent App Registration Summary
b. OAuth Klant ID

Ga terug naar Credentials. Klik op de blauwe knop Creëer referenties en kies OAuth Client ID in het uitklapmenu.

OAuth Client ID - Create Credentials

At first, select Web Application as the Application Type.

OAuth Cliet ID Type

You will see the following info:

Create New OAuth Client ID
The terms you will face here are
- Naam

U moet hier een naam opgeven om te benaderen. Het is de naam van uw OAuth (Open Authorization) Client ID. Zoals u kunt zien, heb ik de naam ingesteld als Test Guide Web App1.

- Geautoriseerde JavaScript-oorsprong

Het is de oorsprong URI van de klantapplicatie. Het is niet altijd verplicht om te gebruiken. Als u echter een niet-standaard poort gebruikt, moet u deze hier opnemen.

- Geautoriseerde Redirect URI's

Na de authenticatie met Google is dit het pad dat u nodig heeft om uw gebruikers om te leiden naar uw applicatie. Het kan geen openbaar IP-adres zijn en het moet de bijpassende Redirect URL van uw plugin-dashboard zijn.

You will get the Redirect URL from your Product Feed Manager For WooCommerce dashboard. Go to Product Feed> Google Merchant Settings and you can see the redirect URL marked in the picture below.

Verzamel Redirect URL

Kopieer het adres en plak het onder Authorized redirect URI's en klik op Create.

OAuth Content ID - Set Redirect URL

You will see that under Credentials, you have an OAuth 2.0 Client ID created, and you will get the OAuth Client ID credentials.

New OAuth Client ID Credentials

Copy the Client ID and Secret and you can also download the credentials in JSON format for later use by clicking on the DOWNLOAD JSON button.

Close the box and you will see that a new OAuth 2.0 Client ID is added.

OAuth 2.0 Client ID List

You can click on the ID to view and edit information.

Stap 2 - Verkrijg uw Google Merchant ID

To get started with Google Merchants, follow this link. You will be taken to your merchant dashboard. From here you can monitor your feeds, product list, and some more options.

So when you send your WooCommerce Products to Google, they will be listed here.

Het vinden van uw merchant ID vanaf hier is eenvoudig. Het is gegeven net naast onze Profiel afbeelding zoals in de afbeelding hieronder:

Google Merchant ID

Kopieer de Merchant ID en sla het op.

Step 3 – Sync Product Feed Manager For WooCommerce With Google Merchant Shop

Finally, when you have your Client ID, Client Secret, and Merchant ID, Go to Your Dashboard> Product Feed> Google Merchant Settings.

Zet alle informatie op de juiste manier in zoals hieronder aangegeven:

Enter Google Merchant Credentials to PFM

Als je alles op zijn plaats hebt, klik je op Verzenden. Klik na het indienen op Authenticeren.

It will redirect you to the permission page of Google. Allow your Google account to approve access to your authorized domain. Then you will get a message that ‘You are authorized’.

Geautoriseerd voor Auto-synchronisatie

En je bent helemaal klaar! Nu is het tijd om de auto-synchronisatie functie te gebruiken om uw WooCommerce Producten naar Google Merchant Shop te sturen.

Stap 4 - Plannen van de Auto-Sync

Now that the setup is complete, you can go to your product feed, and on the right side of the page, you will see that there is the new feature, Send to Google Merchant.

Plan Productinvoer Auto-synchronisatie naar Google

Onder deze rubriek vindt u de opties:

  • Doelland
  • Doeltaal
  • Plan
  • Selecteer Uur
Stuur naar Google Merchant Box

Kies eerst het doelland en de taal.

FYI:
You have to input a short form, and it has to match Google’s format. At first, you can see a small paragraph with a ‘Click here’ link. Go there and check the short forms of your desired target country and language to be accurate.

Vervolgens kunt u uw agenda naar eigen inzicht instellen.

Choose between WeeklyMonthly, or Hourly basis.

Plannen van de soorten

Als je kiest voor Hourly:

Uurrooster

Then select the number of hours after which the schedule will be triggered.

Als je kiest voor Weekly:

Wekelijks schema

Then choose a day of the week and the hour of that day when this schedule will be triggered.

Als je kiest voor Maandelijks:

Maandelijks schema

Kies vervolgens de datum van een maand en het uur van die dag waarop dit schema in werking treedt.

U kunt naar uw Google Merchant Center > Feed gaan en de verzonden feed controleren.

Since the schedule is set, this feed will be updated automatically according to the schedule, regularly.

Nu zijn uw feeds goed gesynchroniseerd met Google Merchant Center en hoeft u niet elke keer dat u uw productfeeds bijwerkt toegang te hebben tot uw accounts. U hoeft dus geen WooCommerce-producten meer handmatig te uploaden naar Google.

U hoeft alleen maar wijzigingen aan te brengen in uw feed, en uw Google Merchant Shop krijgt de update automatisch.

Conclusie

Product Feed Manager For WooCommerce has been under constant improvement to help you promote your products easily.

If you find any Google feed errors, our support team is always there to give you instant support when you need it.

Update your Product Feed Manager For WooCommerce on a regular basis and benefit from all the new features we add on a regular basis.

We hopen dat dit artikel nuttig voor u was en we wensen u een heerlijke reis met uw WooCommerce Store door uw WooCommerce Producten automatisch te synchroniseren met Google.

Categorieën
WooCommerce Guide Product Feed Manager For WooCommerce

6+ Powerful Google Product Feed Optimization Tips For E-commerce Success

Google is the #1 search engine in the world and seemingly the best place for marketing. Google offers Google Merchant Center to allow eCommerce stores to promote their products through Google.

If an eCommerce store can create proper Google product feeds, its sales can skyrocket in no time.

But, you will need to know how to optimize Google Shopping feed so that your Google product feed is approved by Google in the first place. 

Your WooCommerce store may include many variations and attributes for your products, but Google Merchant Center has its own set of requirements that you must meet in order to upload your products and get approved with your Google product feed.

That’s why I came up with 6+ high-impact Google product feed optimization tips and going to explain them in this blog.

So, let’s get started!

**P.S. These are just basic tips. If you want a detailed guide then read:

1. Select Product Category According To Google

Google Product Feed Category

Your website may have custom categories, different from Google. But Google has its own taxonomy list, and you must submit a feed accordingly.

You must make sure that Google product feed has all the products categorized according to the Google taxonomy list.

Your website may have custom categories, different from Google. But Google has its own taxonomy list, and you must submit a feed accordingly. You must make sure that Google product feed has all the products categorized according to the Google taxonomy list.

When you optimize product feeds, you must map your categories with Google category list, or else Google won’t accept it.

For Example:
If you have a product under the category ‘Apparels > Bodywear’ on your site, it is not in the Google taxonomy list. So you need to map it with the most relevant one. In this case, in Google, the product should be under ‘Apparel & Accessories > Clothing.’

Also when mapping, be as specific as possible and categorize the product under the most relevant sub-heading. 

For example, if your product is a Tuxedo, then the best category under Google will be ’Apparel & Accessories > Clothing > Suits > Tuxedos.’ 

This will narrow down search results for targeted customers, hence more chance of a conversion.

2. Deciding A Good Title

Your product title is what Google relies on when deciding how to optimize Google Shopping feed for a customer’s search phrase.

Plus the title acts as a hook, to grab customers’ attention and create more interest.

Google allows you to write a title of up to 150 characters. It is wise to optimize product feeds by giving a title that says what your product is from your eCommerce store, and some of its best features that people search for.

For Example:
If you are selling a Tuxedo for a particular brand — let’s assume ‘Rexth Clothing’ is a brand. You can choose the title “Rexth Ultralight Black Modern Fit Tuxedo With Golden Buttons.” This title highlights the brand, the color, the type, the product itself and one of its exclusive features.

Now, basic Google previews will only show 35 characters only. So try to make the first 35 characters relevant to what people might search for when looking for this particular product.

Inside the Google Merchant Portal, it will only display 75 characters and the rest will show when the customer clicks on your product. Which means you should include your best keywords within the first 75 characters.

It’s ideal for shop owners to write titles within 75 characters and include target keywords there for optimized results.

Google Product Preview

**P.S.: Don’t add promotional phrases to your title such as “Limited offer,” “Special Discount,” etc. Google algorithms take these negatively.

3. Beginning Of Description

After searching for a product on Google, a person will be able to see a preview of the details of your product. These details include the title, description, review rating, price, etc.

For description, even though you can write up to 5000 characters, the first couple of lines are crucial. How to optimize Google shopping feed involves making the description as compelling and informative as possible within the first 175 characters.

The description on Google Shopping Preview will only display the first 175 characters of the actual description. 

Thus you should try to include the best benefits and features of your products in the first couple of lines. This will act as a trigger to create ‘desire’ in customers.

Try to make it precise and not a marketing promotion of your site.

Beschrijving

4. Detailed Description

As we mentioned earlier, the beginning of the product description is crucial and should be catchy while including targeted keywords. But this doesn’t change the fact that you have to write a proper description nonetheless. 

Make the description as detailed as possible and include all the features and benefits of your product. This is crucial for google feed optimization as it helps in better ranking and visibility.

Also, keep in mind the SEO attributes when writing the description. Make sure to include keywords and avoid including any irrelevant data.

Do not give any misinformation. Reminding you that just one bad review can lower your rankings on Google search.

5. Advantage Of A Unique Image For Google Product Feed Optimization

Even though you may have multiple images for your product, Google will specifically ask for an image link to a picture of your product, which will be used as the preview photo in the search results.

Google Shopping Preview

It is best to create a high-quality Image for this purpose. Now, most shop owners directly take images from the manufacturers’ sites; thus almost all of their previews are about the same.

The smart thing to do here is to try and give a picture that is different and will stand out.

You can take a photo on your own or search for a uniquely clicked photo of the same product and use them (as long it is not a copyright infringement) as the image for your product.

Having a unique photo on display, among others who all look similar to each other, will create more curiosity among customers.

Unique Picure

A different picture stands out and grabs customers’ attention.

But do make sure not to add extra promotional text on the images. Also, it is advised to give an image with a white background.

6. Include The Mandatory Data In Your Google Product Feed

Include The Mandatory Data for Google Product Feed Optimization

Apart from the product category, title, description and image, there are a few more data which you must include in your product feed.

(i) Condition

This basically lets you choose from the options ‘new’, ‘refurbished’ or ‘used.’

(ii) Availability

You can choose from the options, ‘in stock’, ‘out of stock’ or ‘pre-order’. This information has to be included on your feed and later updated according to current availability on a regular basis.

**P.S.: Failure to deliver, while saying the product is available, has a negative impact. One bad review from a customer can affect Google’s priority on your products. Hence, be honest about the availability.

(iii) Price

You need to specify the product price and currency.

Make sure to include VAT within the price (except in the USA, Canada or India). Most customers expect to pay exactly what is mentioned. (The only extra fee people may agree to pay is the shipping charge).

**Note: Don’t tweak your Google product feed and make it different from your actual site, at least in the case of the data that are to be displayed on the preview. Once you provide the data, Google will cross-check with your website. Any mismatch and Google will penalize your ranking.

(iv) GTIN (Global Trade Item Number)

This is a unique product identifier for any product (often in the form of barcodes).

You may know GTIN as UPC (if in North America), EAN/UCC (if in most places outside North America), JAN (if in Japan), ISBN (if you deal with books), etc. There are more countries which call it by different names, but all serve the same purpose.

Often products may have multiple GTINs. In that case, you may choose either one. If you are offering a package with numerous products, then providing the GTIN of any one of the products will be fine.

GTIN is not a marketing term or a feature of the product. But Google algorithm gives more priority to products that have GTIN. So it’s best to include it in your Google Product Feed.

(v) MPN (Manufacturer Part Number)

MPN is a unique identifier of each product, deduced by the manufacturer. You will be required to include this in case you don’t have a GTIN for any product.

**In case you have a product with no GTIN or MPN, you need to mark the ‘identifier_exists’ attribute of that particular product as false. Not marking it false will automatically be considered as true, and Google will look for a GTIN in your product feed. In this case, your product feed will be rejected.

(vi) Product Link

You will need to provide a direct link to the product, not the root domain.

(vii) Brand Name

Google will ask for the name of the manufacturer, not your company or any distributors. So don’t include your name in this field unless it is your own manufactured product.

(viii) Product ID

The product ID is the code you assign to your products on your website. This will allow you to keep track of your products from Google to your site.

Google Merchant Shop is a must for any WooCommerce shop owners, who want more potential customers.

Make sure you have created a proper Google Product Feed. In case you are not confident in creating on your own, you can use plugins or feed management tools.

You May Try Out A WordPress Plugin

The process of setting up and keeping up a Google Shopping feed takes time and work.

You can rely on the plugin Product Feed Manager For WooCommerce (developed by us, RexTheme) which is simple to use and will help you generate Google Product Feed with no hassle. It has a built-in feed format set up for Google and many other merchants’ shops.

Product Feed Manager

This plugin will let you map categories very easily, and all you will need to do is select the products you want to generate a feed for. 

It will create a feed that you can auto-sync with your Google Merchant Shop, and with little or no changes, your products will be up on Google Shipping. 

You may try using its free version and see if it suits you.